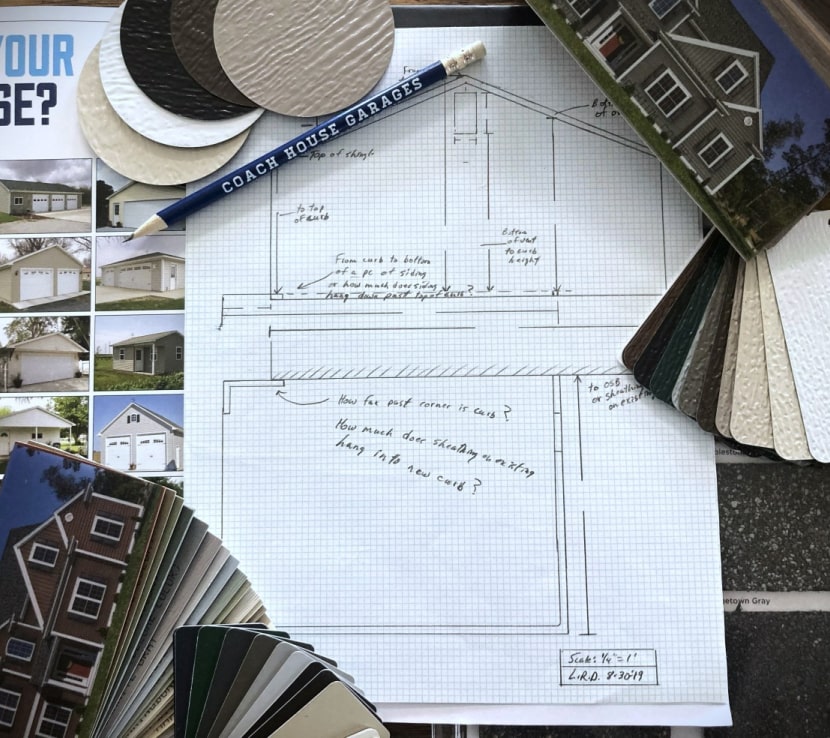
After scheduling an appointment with your local design consultant, they will meet with you at your home to discuss your
project and find out exactly what it is you’re looking for in a garage. They will take measurements, shoot grade to find the
lay of your land, and flag out the garage’s “ blueprint” i n your yard according to your specifications. All of our consultants are knowledgeable in municipal zoning ordinances and requirements. They will make some suggestions along the way, based
on those requirements, so you end up, not only with a garage built to code, but one you will love!
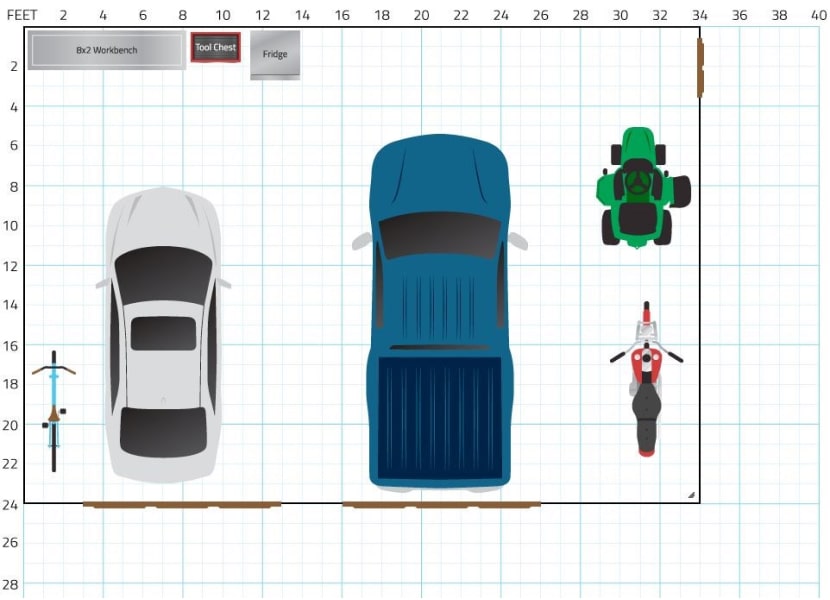
Once an agreement has been signed, your design consultant now becomes your project manager. At this point in time all
your color choices, window & door styles, and any other custom options you want for your garage will be finalized and or-
dered by our production manager. Your project manager will then start acquiring any necessary permits through the city or county in which you live. Upon approval from your jurisdiction your project manager will coordinate with one of our sub
contractors to start excavating the building site to prepare for your Coach House Garage.
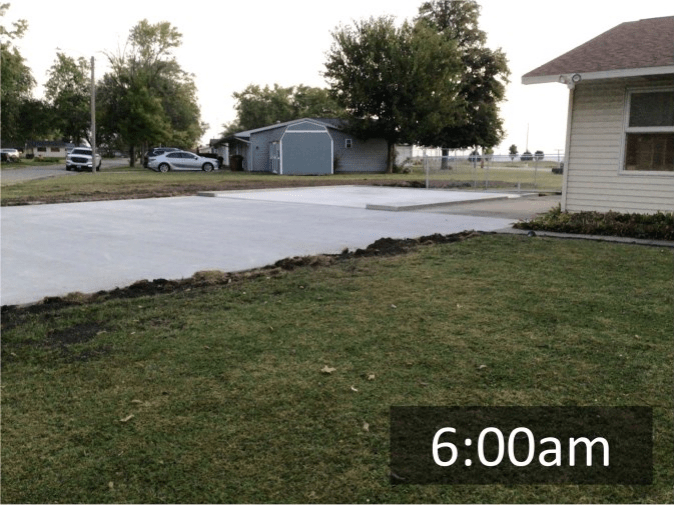
After the building site has been excavated of all trees, shrubs and anything else that may be in the way of your new garage, the ground will be prepped and forms will be placed for concrete. Your project manager will put an order in for one of our
concrete contractors to pour and finish your floor. They will also pour a concrete curb & footers to make sure your garage
has a sturdy, secure foundation to build on. This is the point where you will really start to see your garage dreams becoming a reality. And in a few short weeks your garage will be done!
Now that all of the materials have been ordered and the floor is poured, your project manager will give the go- ahead for
production to start. Our highly skilled carpenters will begin building the wall panels and trusses at our shop in Arthur, Ill i-
nois. Our production manager will finalize any last-m inute details to make sure everything is ready to go when production has finished. We have a great relationship with our material suppliers and are able to get materials in a very timely manner.
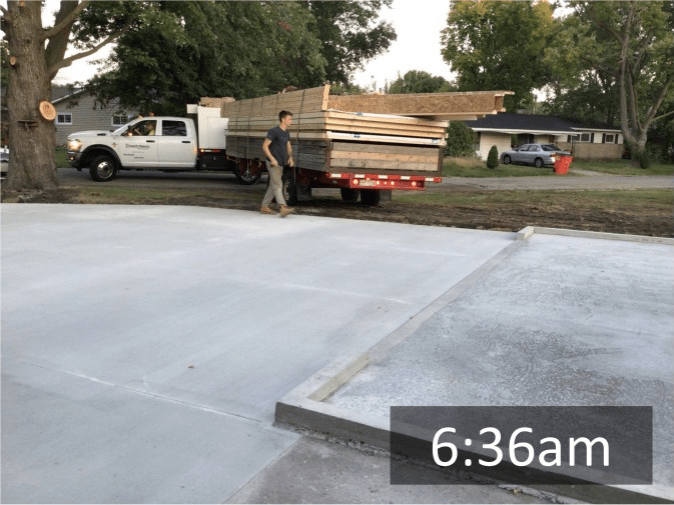
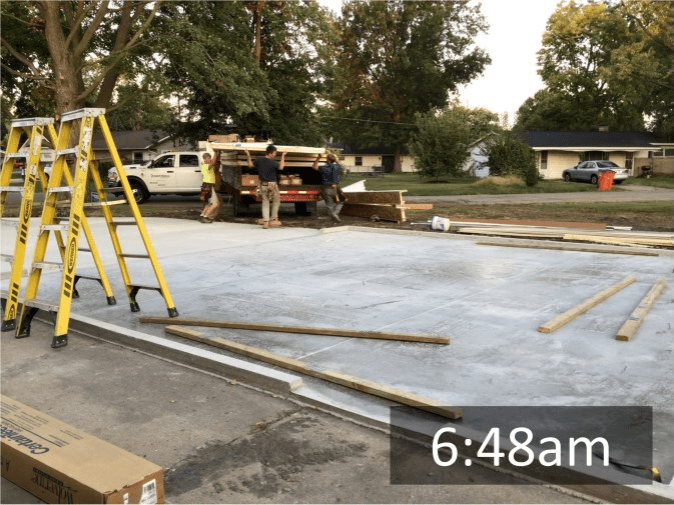
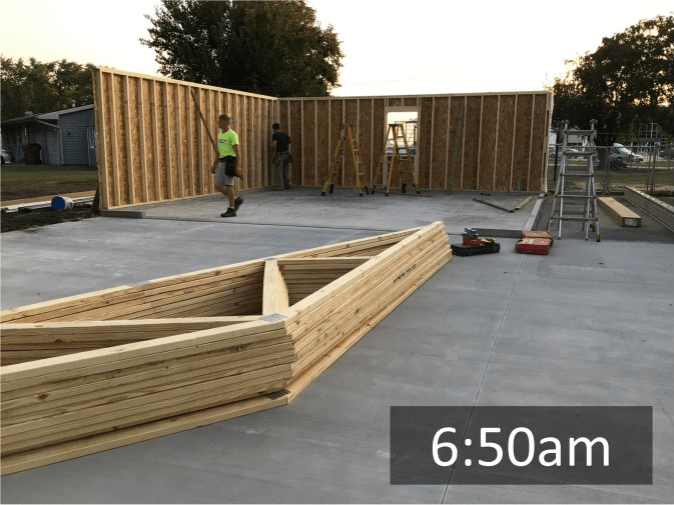
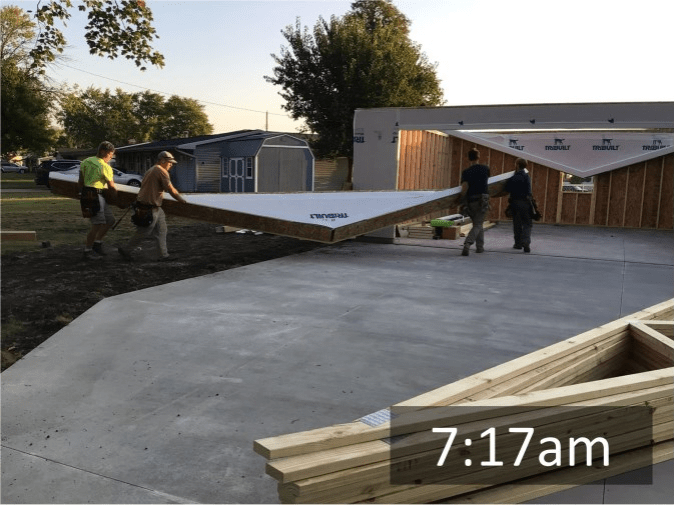
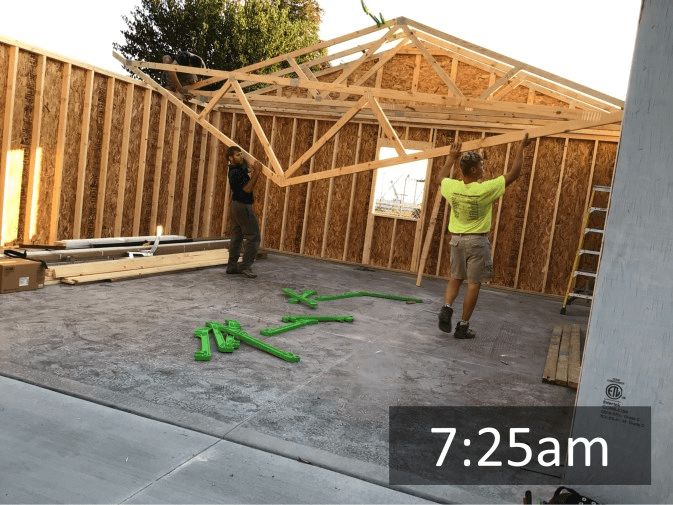
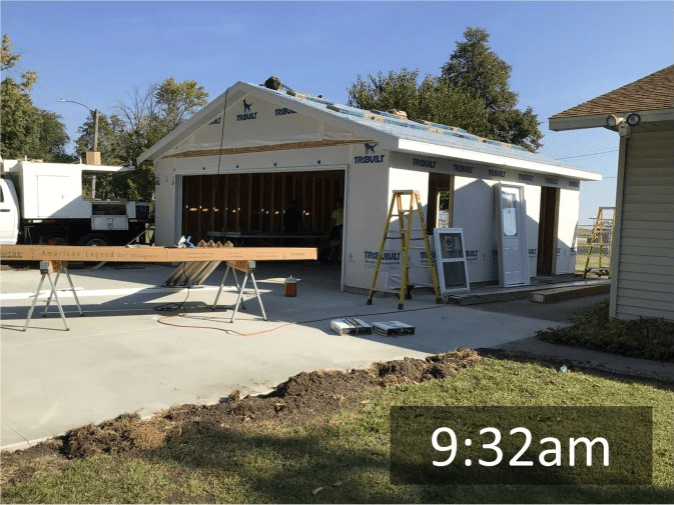
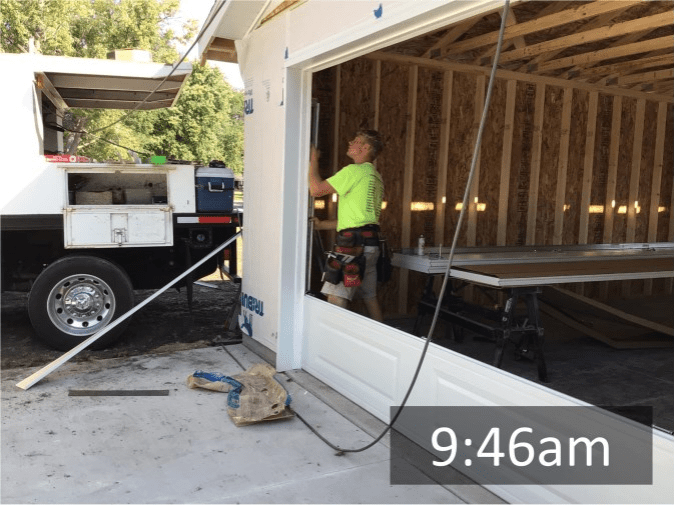
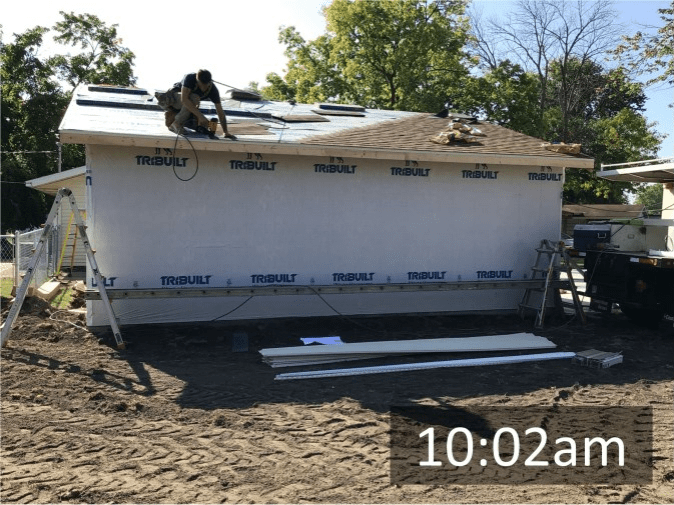
Once your concrete floor has cured and all the materials for your project have arrived at our facility, your garage will be
loaded and one of our set-u p crews will deliver it to your house. They will arrive around 7:00am and within 30 minutes all four walls will be set and secured. What was once an empty concrete floor will now be the first look at your new garage! The crew will work for the next 6 to 7 hours, depending on how big your garage is, installing your trusses, shingles, siding,windows and doors.
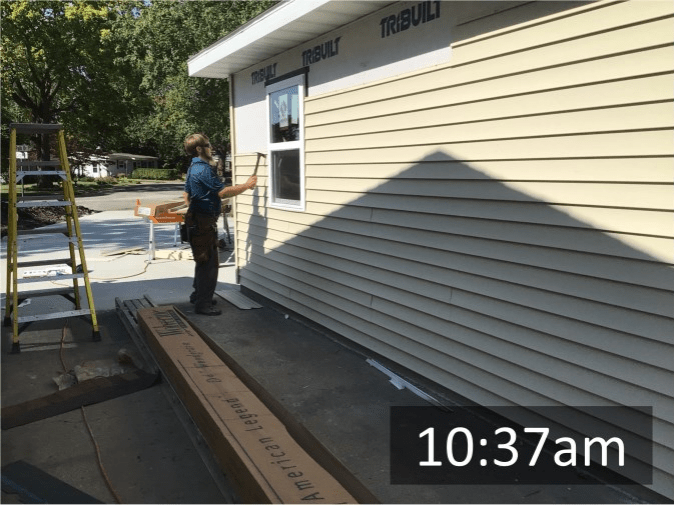
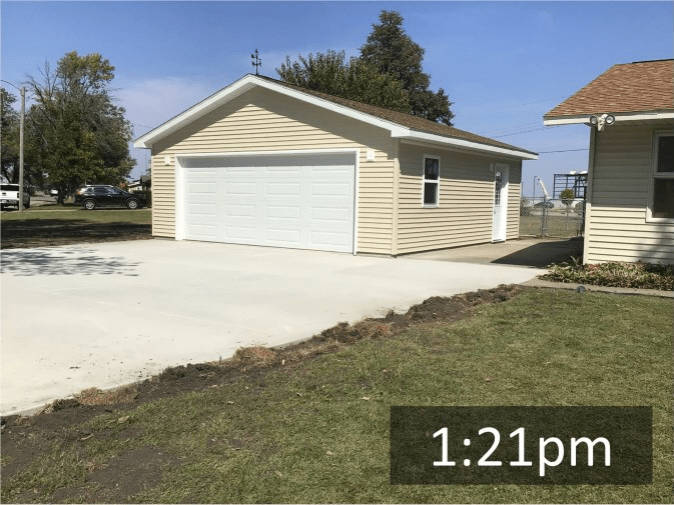
All in a day’s work, the time has come to enjoy your new Coach House Garage! At this point you will have a fully functional
garage. However, most of our projects still have some finishing touches like electricity and gutters that your project manag-er will coordinate. Some customers like us to take their garage to a whole other level by adding insulation, drywall, and
landscaping to make their new garage fit right in with their property. The options for a garage are endless and we can help
you every step of the way so you can enjoy your new garage for a lifetime.